Installing a printer driver correctly is one of the most important steps to ensure smooth and reliable printing performance. Whether you are setting up a new printer at home or configuring one in an office environment, proper driver installation and setup prevent common technical issues such as connectivity problems, offline errors, or print spooler failures.
This detailed guide explains everything you need to know about printer driver installation, configuration, troubleshooting, and maintenance to achieve optimal printing results.
Understanding Printer Drivers
A printer driver acts as a communication bridge between your computer and printer hardware. Without the correct driver, your operating system cannot properly interpret printing commands. Installing an incompatible or outdated driver may result in slow printing, missing features, or complete failure to print.
Step-by-Step Printer Driver Installation
Step 1: Identify Your Printer Model
Before downloading any software, confirm your exact printer model number. This ensures compatibility and prevents installation errors.
Step 2: Download the Correct Driver
Visit the official manufacturer’s support website. Select your operating system version (Windows, macOS, etc.) and download the latest driver package available.
Step 3: Run the Installer
Open the downloaded file and run it as Administrator. Follow the on-screen instructions carefully. Do not connect the printer until prompted by the installer.
Step 4: Restart Your System
After installation completes, restart your computer to refresh system services such as the Print Spooler.

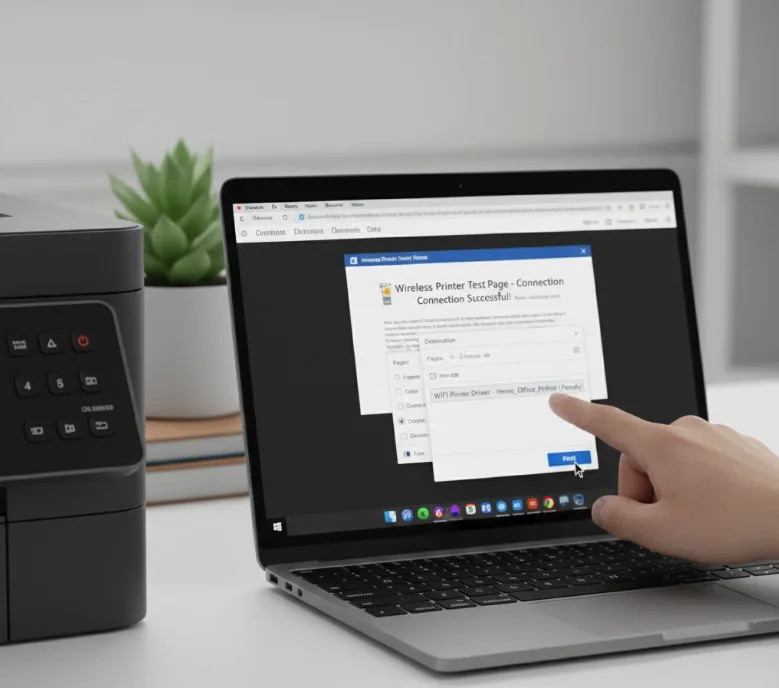
Connecting the Printer
Printers can be connected using USB cables or wirelessly through WiFi. For USB setup, simply connect the cable and allow automatic detection. For wireless configuration, access the printer’s control panel, select your network, and enter the correct password.
Common Installation Errors
- Driver unavailable error
- Printer showing offline status
- Print queue stuck
- Network detection failure
- Compatibility mismatch
Most of these issues occur due to outdated drivers, incorrect network configuration, or system permission restrictions.
Troubleshooting Guide
If your printer is not responding after installation, try the following steps:
- Restart both printer and computer
- Clear the print queue
- Restart the Print Spooler service
- Reinstall the latest driver version
- Check firewall or antivirus restrictions
- Ensure stable internet connection for wireless printers
In most cases, reinstalling the correct driver resolves major installation problems.
Maintenance Tips for Long-Term Performance
To keep your printer working efficiently:
- Update drivers regularly
- Clean print heads periodically
- Use high-quality paper and ink
- Avoid sudden power interruptions
- Keep firmware updated
Conclusion
Proper printer driver installation is not just about downloading software—it involves selecting the correct version, configuring system settings accurately, and maintaining the printer regularly. Following the detailed steps outlined in this guide ensures smooth communication between your computer and printer hardware.
By carefully completing each step, you can avoid common printing issues, reduce downtime, and maintain consistent high-quality printing performance for years to come.